Electronics
Adafruit's FeatherM0_WiFi - An Odyssey
Getting exited
For my R1 project I was looking for an MCU that could:
- communicate with a PC for navigation, etc.
- control the LIDAR-Lite2 and the Pan-/Tilt-Servos for it
- communicate with the Atmel ATmega328P based drive train control (Motor Control, Bumpers)
Since the 8bit ATmega328P is really a pleasure to work with and since I collected a lot of stuff from Atmel over the last year for other projects, I thought my best option was to use there WINC1500 WLAN module for the PC connection.
The Atmel Xplained boards I have (like the one for the WINC1500) are nicely supported by their IDE "AtmelStudio", but the are a little bulky for being carried around by my little R1.
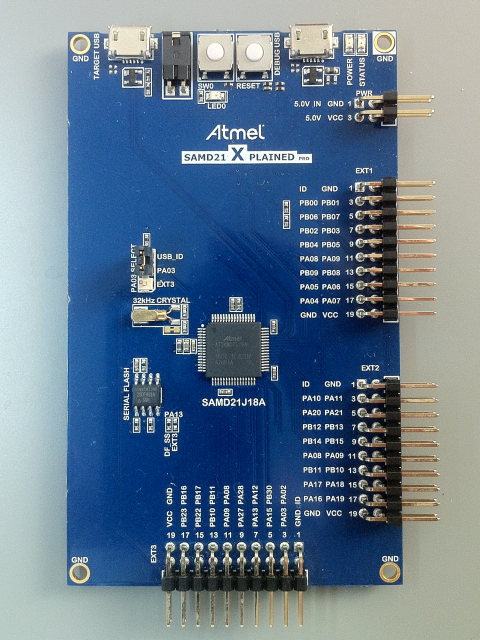
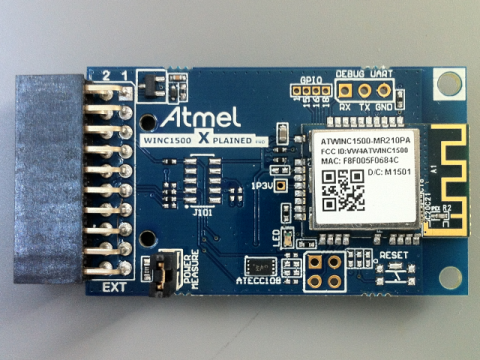
Sourcing the Net for parts to build my own design, I ran into a company called Adafruit and it looked like they are selling pretty much the perfect package ready made:
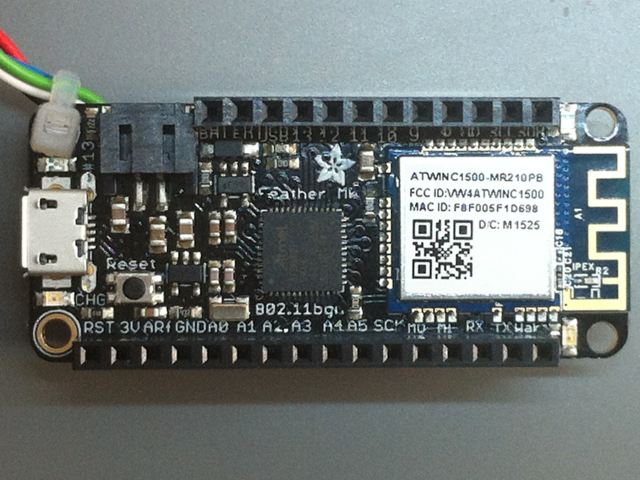
- FeatherM0_WiFi
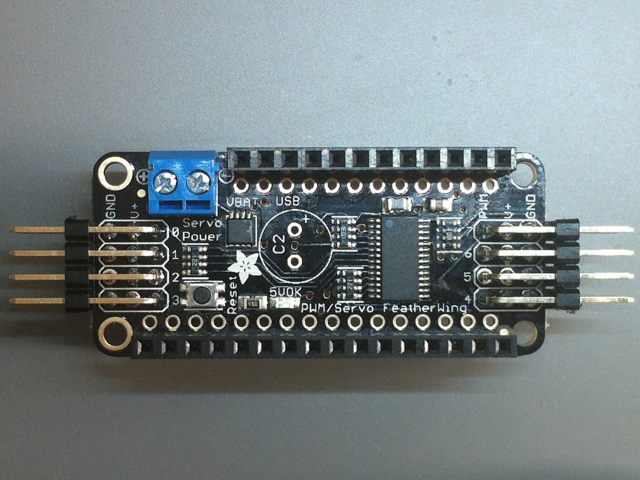
That is an Atmel SAMD21G18A married to the Atmel WINC1500 (plus some goodies, like LiPo charger and Arduino Zero compatibility) - 8-Channel PWM or Servo Feather Wing Add-on, for the LIDAR Pan-/Tilt-Unit
At its core this is a NXP's PCA9685, a 16-channel, 12-bit PWM Fm+ I2C-bus LED controller.
These modules come in Adafruit's very compact Feather format sharing a common interface layout. By using some long contact headers you can stack different Feather modules on top of each other, avoiding a lot of cables.
Sounds like the perfect solution, right?
So I ordered:
- FeatherM0_WiFi, as R1 Control MCU and PC/R1 communication controller
- 8-Channel PWM or Servo Feather Wing Add-on, for the LIDAR Pan-/Tilt-Unit
- FeatherWing Doubler, for not having too big of a tower on the back of R1
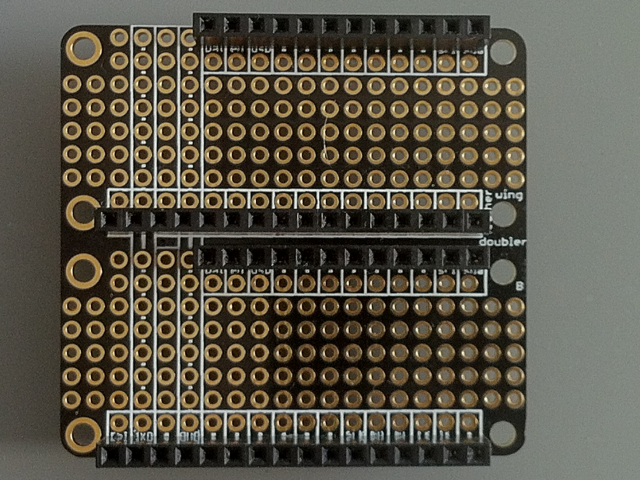
- FeatherWing OLED, just for fun
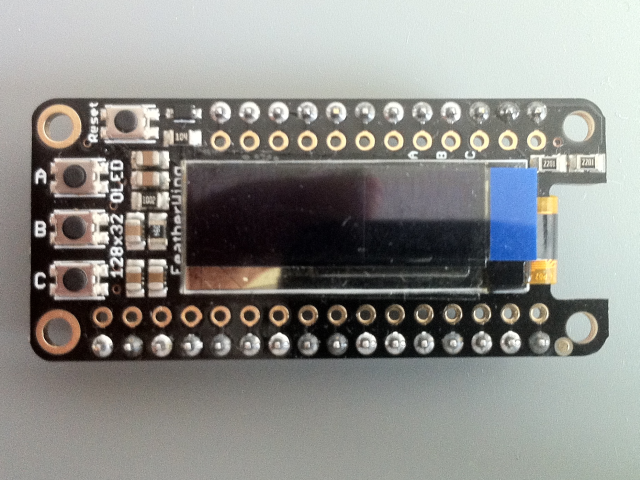
- 3.7V 2000mAh Lithium Ion Battery, as separate power supply for the control unit
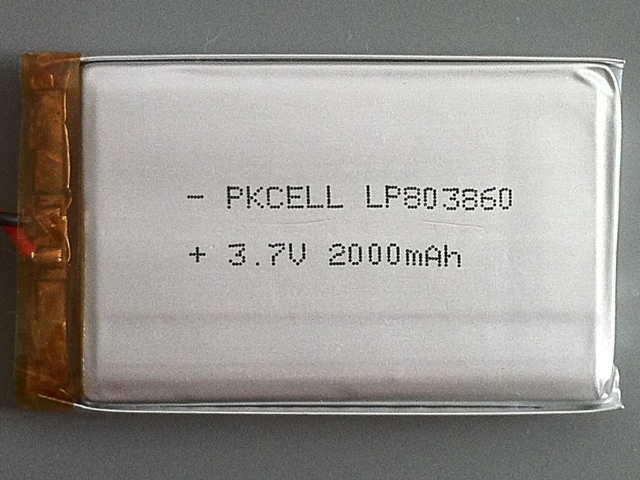
It just sounded too good to be true...
Getting started
All started quite innocent. I just followed the instructions on Adafruit's web site for the FeatherM0-WiFi setup:
- Upgrading the Arduino IDE with the latest SAMD board packages from Arduino and Adafruit.
- Programming and uploading their "Blink" demo kind of worked.
I got an error at the end, but the LED blinked. So I did not worry too much about it.
Getting frustrated
That changed, when I tried to upload the OLED demo.
All of a sudden there was no response from the board anymore.
To cut a long and very frustrating experience short.
The FeatherM0 has some serious issues:
- It does not have a separate EDGB/Programmer chip (like the Xplained boards do) and the bootloader on the board seems to be broken.
Every time you upload a firmware the board changes the (USB) com port in the middle of the process, which confuses the programming software or even messes up the bootloader (especially if you use the Arduino IDE in VMware, like it did at the beginning).
Adafruit has some serious issues too:
- read about Adafruit's support policy BEFORE you buy anything from them
Which pretty much translates into: "Once we have your money, you are on your own :-)"
Have a look at the bootloader thread in Adafruit's support forum.
I posted my question on May 28th, as of up to today (August 16th) no one of Adafruit bothered to answer. So it is quite possible, that after the first try you end up with a blinking brick.
Solving the problem
What you need to solve the problem is:
- AtmelStudio
The least at the time of writing is version 7.0.1006 and is finally really able to import Arduino Projects.
The Arduino Sketch Import allows you to use the demo code for the Feather modules and other Arduino libraries - Neat!
Like it always seems to be the case with AtmelStudio, it took a couple of versions until this feature really worked. But remember it is for free, so no reason to complain (even so ... have a look at Cypress's PSoC Creator to see how it's done right - also for free!).
So make sure you have the latest update.
- One of Atmel's Programmers/Debuggers
I opted for the Atmel SAM ICE, PCB only version from Digikey
- Make sure you have a 10pos 50mil (1.27mm) ribbon cable and the fitting socket connectors
From my personal experience I would NOT recommend to buy this one.
It is way too expensive, without any benefits. I bought it for its 100mil connector, just to figure out, that you cannot use it, because the RESET line is not connected for the SWD mode you need.Next time I just buy the socket connectors and a ribbon cable.
Preparations
-
Build your own cable
- crimp the 50mil IDC Socket to the ribbon cable
- splice the other end of the cable and solder the cables to the back of the FeatherM0
We need to use the Atmel ICE in SWD mode, since that is what is supported by the FeatherM0.
Using the SAM port of the Atmel SAM ICE:
PIN SWD function FeatherM0's connection 1 VTG (target voltarge) has to go to the 3V pin 2 SWDIO that is the left pads on the back 3 GND is soldered to the GND pin 4 SWDCLK the right pad on the back 10 RST gets soldered to the RST pin 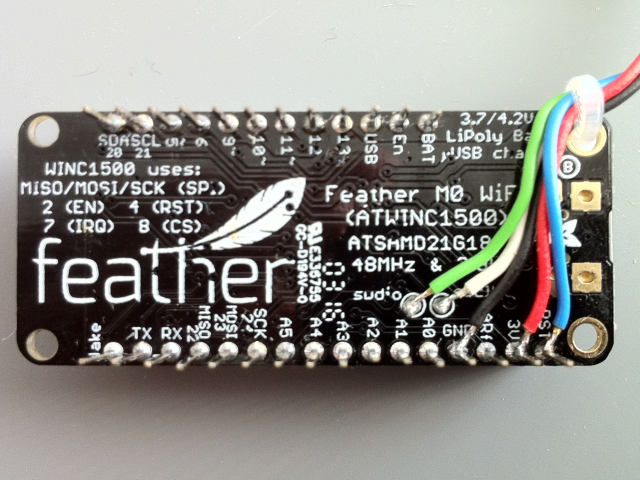
That is all that's needed. All the other pins and wires can be ignored.
Beware!
If you are stucked with the original Atmel ICE cable remember that the RST line (pin 10) is not connected to the 100mil 6 pos connector. You may have to use a lab probe to connect to the back of the header directly.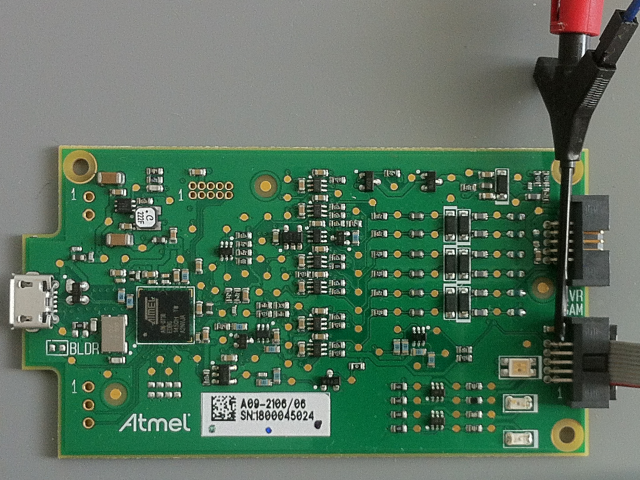
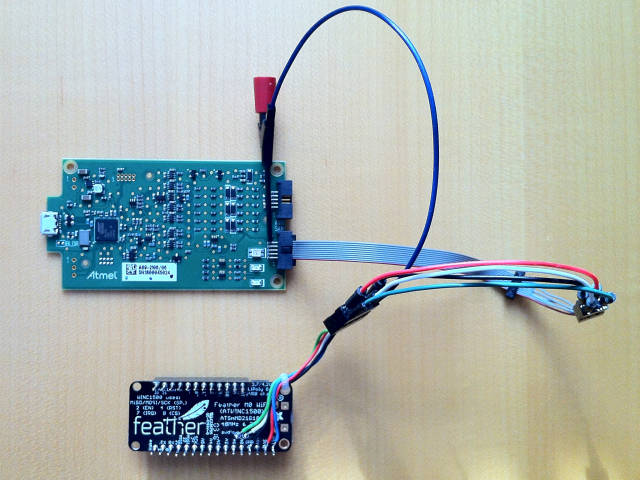
- Install and fire up AtmelStudio
- Connect the Atmel Programmer/Debugger
Running an Arduino sketch on the FeatherM0
- Open a new Project and select "Create from Arduino sketch"
E.g. use the Blink example, that can be found in your Arduino IDE installation's example path. - After the generation of the AtmelStudio solution is finished make sure to select the correct device (ATSAMD21G18A) and the correct tool (SWD on Atmel-ICE).
- Now you can run the solutions.
This will:
- delete the broken bootloader from the FeatherM0
(Don't worry, with the tools we have now, we can restore the bootloader, if needed.) - upload the firmware to the FeatherM0 and execute it
- delete the broken bootloader from the FeatherM0
What we have gained
- We got rid of the annoying FeatherM0 bootloader problem.
- We work in a proper IDE, with goodies like code completion, etc.
- We still can use all the Arduino sketches and libraries, that make life so easy in the Arduino eco system.
- We can debug our firmware directly on the hardware.
I'm actually amazed, that anyone tries at all to take on a serious software project (embedded or not) without having a proper debugger in place. I'm doing software development for 30 years and still my programs have unintended features, that I have to learn about.
My conclusion
- If you are not an Atmel MCU expert and don't have the patience to become one - Don't buy any of the FeatherM0 boards.
Get an Arduino Zero instead.
- I cannot recommend Adafruit's FeatherM0 in its current state for anyone that wants to build a quick solution using the Arduino IDE only.
For the FeatherM0 sooner or later you will need an Atmel external programmer, a soldering iron and you have to get used to AtmelStudio.
- For anyone else:
Go ahead - Learn to know your tools!
You might even want to break out of the Arduino eco system.
The benefits are worth it by all means.
Having said that, IMHO, if you are serious about MCU development, you should do that anyway or maybe have a look at the products of Cypress. Their (also free of charge) PSoC Creator IDE is in my opinion by far superior to AtmelStudio and their inexpensive PSoC hardware plays in a completely different league.