Prev: 3. Outlining
Useful Stuff
Reverse Engineering of a Keypad in FreeCAD
4. Finally FreeCAD (Ver. 0.16)
Well, not yet.
As a final step in Inkscape, we have to
- Convert the Bezier lines into Path.
I had to use"Path | Stroke to Path", since theObject to Pathoption created a broken path for the keypad outline. - You have to save the outlines as a "Plain SVG" file, so FreeCAD can import it.
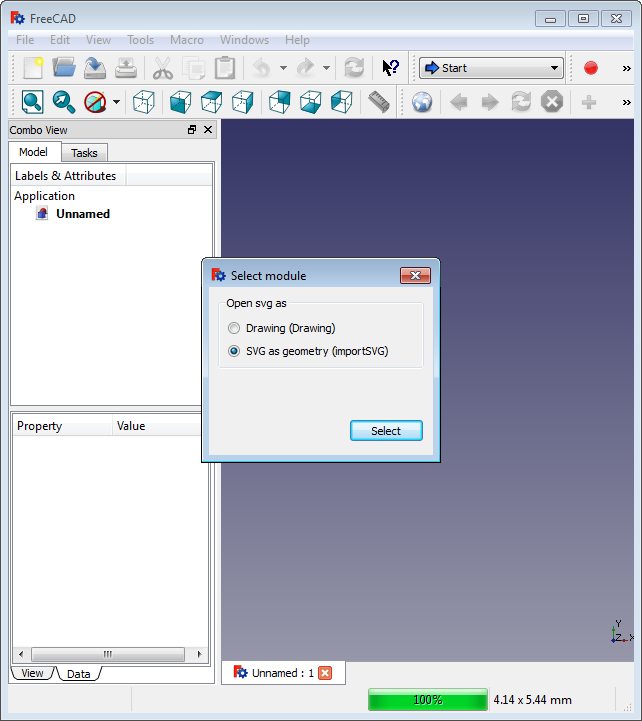
This SVG file we can now import into a new FreeCAD document ("File | Import")
A lot of Path entries appear.
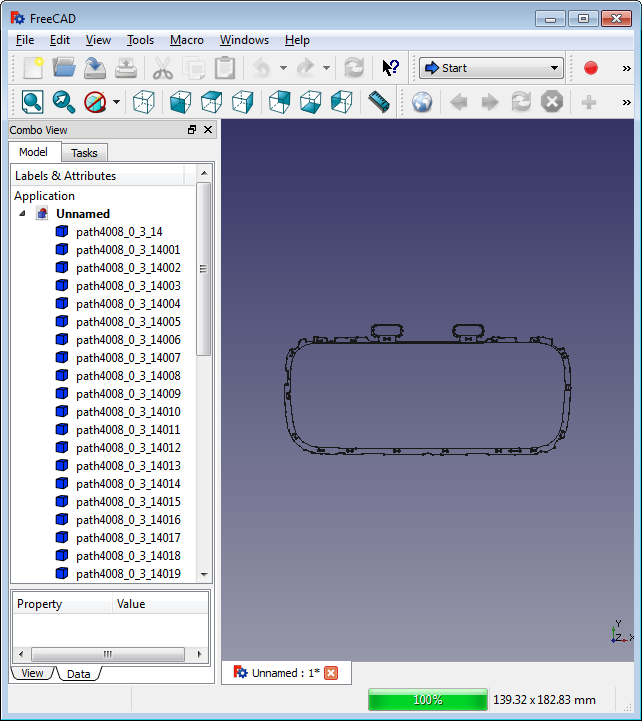
If we take a closer look, we see that by converting Stroke to Path each outline is converted into two Path objects, separated by the stroke width.
This might be a little inconvenient, but at least the keaypad outline is not broken.

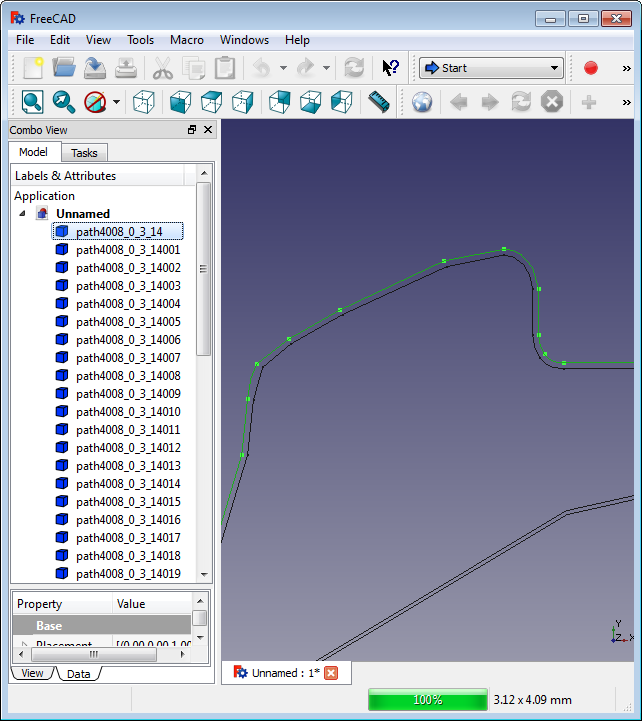
We just remove the
- outer path for the keypad outline and all the alignment holes
- the inner path for all keys
It does not make much of a difference at this scale and considering the lines being hand drafted, but it still moves the tolerances to the safer side for each.
Now we can use the "Draft | Upgrade" in the Draft Workspace command to convert all the Path objects into Faces.
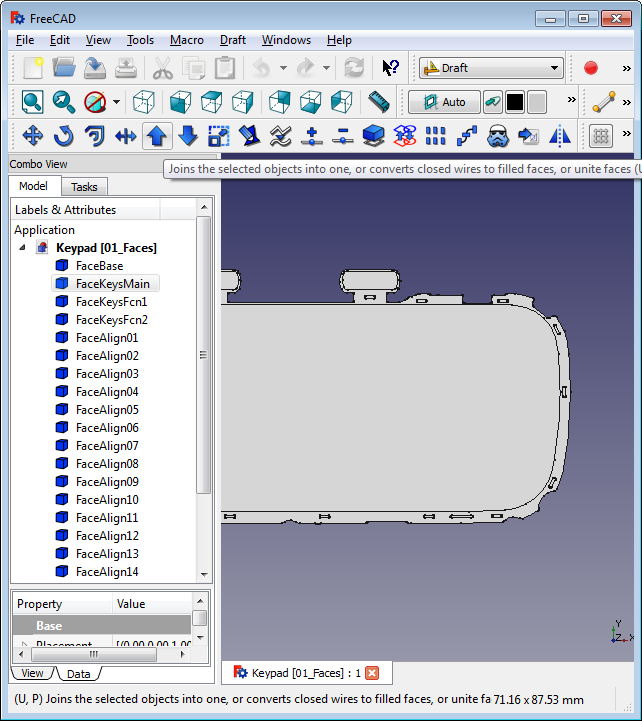
Without this step, the next one would not work.
The next step is a tricky one!
At least it was for me.
I spent the better part of the day toying around with different Inkscape path converting / export and FreeCAD import / converting options, since later in the process I could not get the boolean operations on the keyboard cover working with the keypad part I created here, until I found out, that the problem was the way I extruded the faces and not the way I created them.
I had to do it in 2 steps.
- Extrude the Base Plate and the Alignment Holes
- in positive Z direction
- 0.5mm
- Extrude the Main Key Set and the Function Keys
- in negative Z direction
- 0.5mm
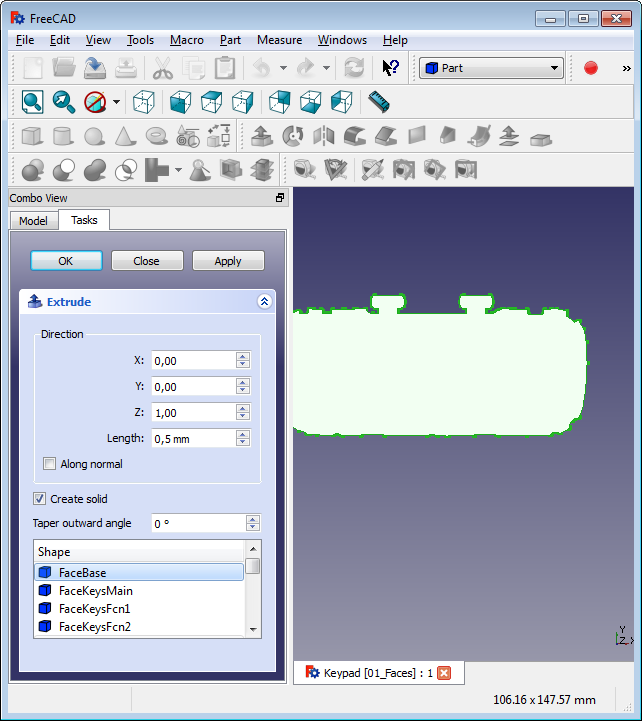
The order did not make a difference - the direction does (or you part might come out mirrored)!
Also: Do not try to extrude the Base Face and the Main Key Set Face in the same direction!
It seems FreeCAD does not like two solids taking up the same space, if you want to use them in boolean operations later on.
At least I could not get it working, no matter what fusion operation I tried.
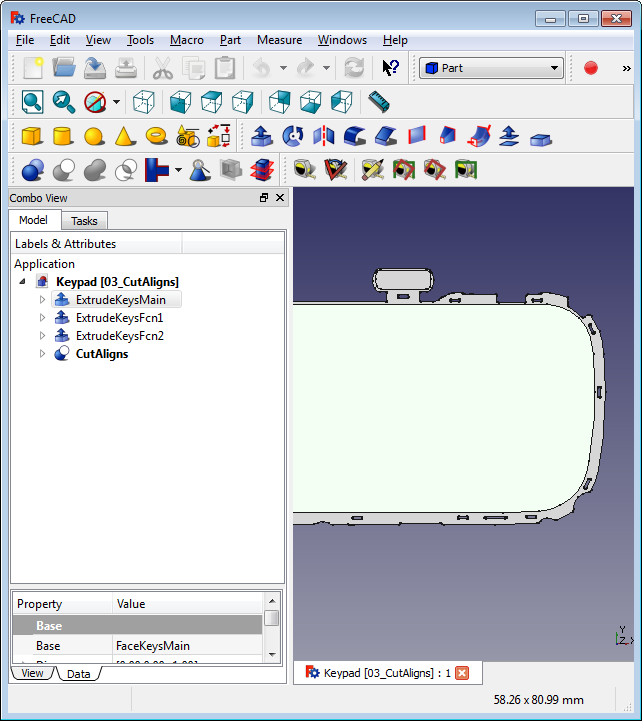
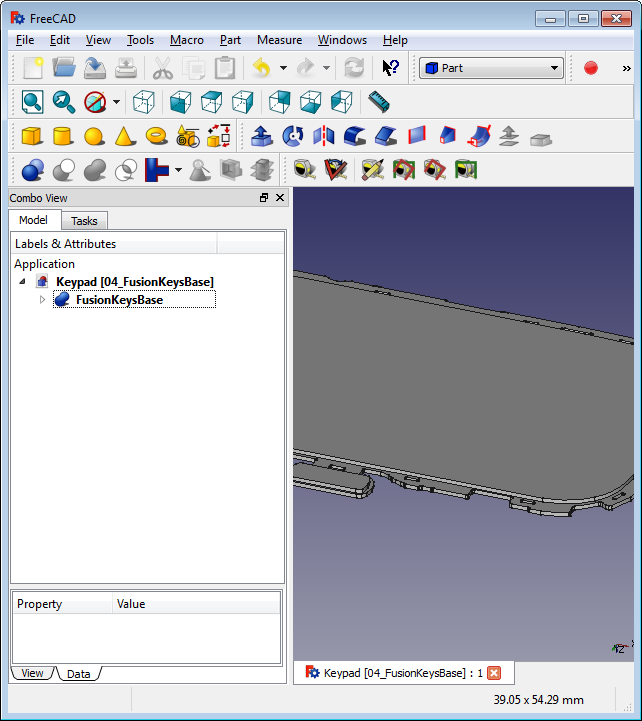
From here on it went smooth.
Cutting the Alignment Holes out of the Base, using the Cut tool of the Part workbench:
Using the Fusion tool of the Part workbench to join the buttons with the base:
Next: 5. Fruit of the Labor