Prev: EEPROM
Jolla and SailfishOS
The Other Half EEPROM programming using an Arduino Uno as In-System-Programmer
Software
Having the basics in place, writing the software is straight forward.
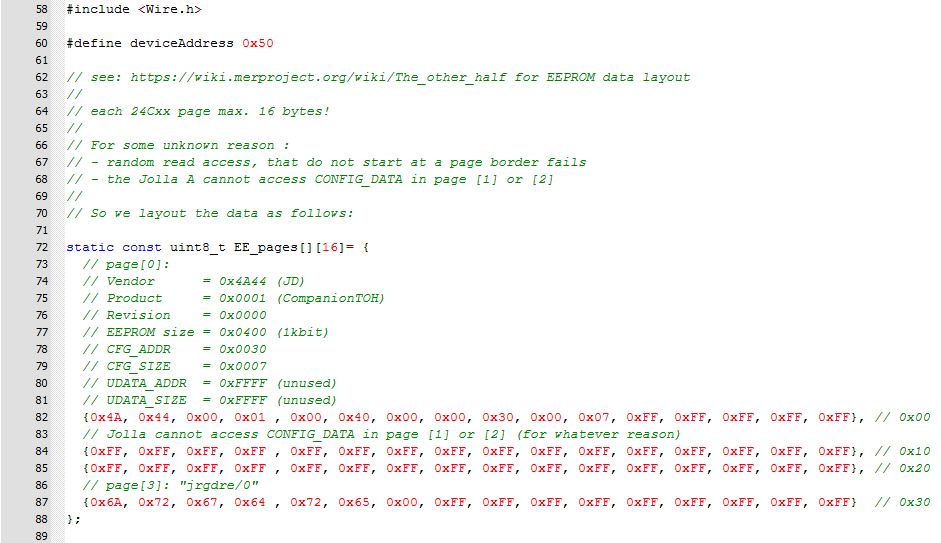
- In line 58 we include the I2C library
Wire.h - Line 60 defines the EEPROM
deviceAddressas0x50Remember that these are the Most Significant Bits (MSB) of the 7bit I2C address (2^7..2^1).
Bit 2^0 is the Read/!Write bit. So the complete 8bit address is 0xA1 for Read and 0xA0 for Write, but everyone only uses the 7bit address and assumes you know that.
- Lines 72 .. 88 define the data field that gets written to the EEPROM
The way I defined the EEPROM content, every page has to be 16byte long (or
eeprom_write_buffer()will fill the rest with 0x00).
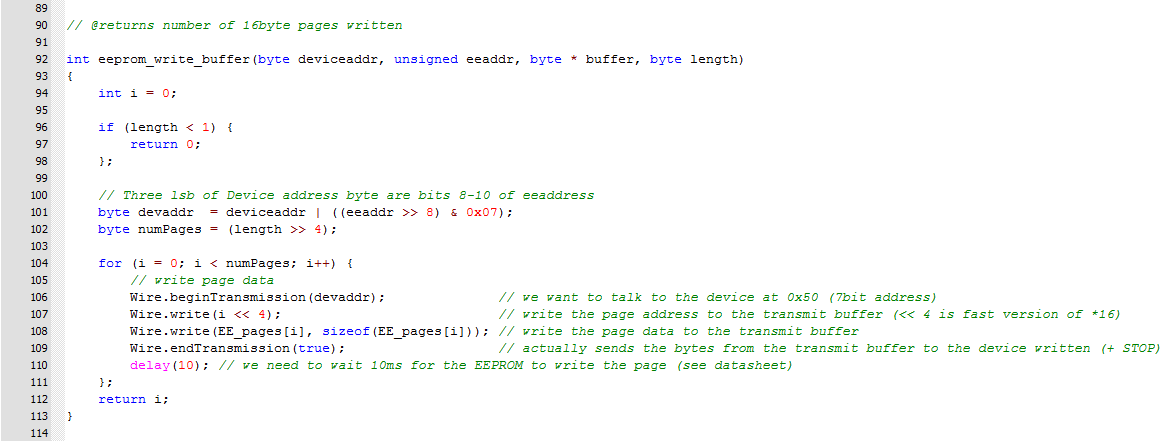
- Lines 92 .. 113 define the function that writes the data to the EEPROM
- With each write access one 16byte page is written.
- The EEPROM is given 10ms to actually write the data, before sending the next page.
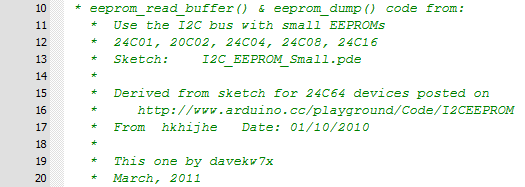
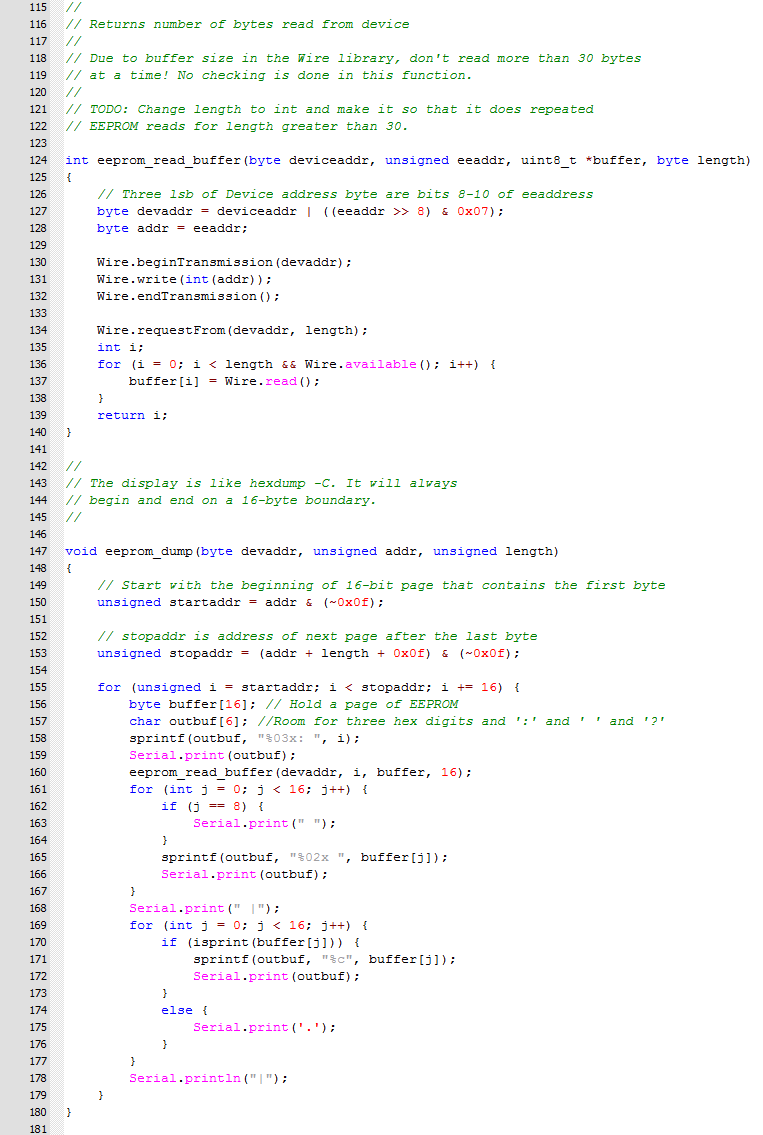
The two following two functions I copied from the I2CEEPROM project at arduino.cc/playground/Code/. They pretty print the content of the EEPROM to a serial console.
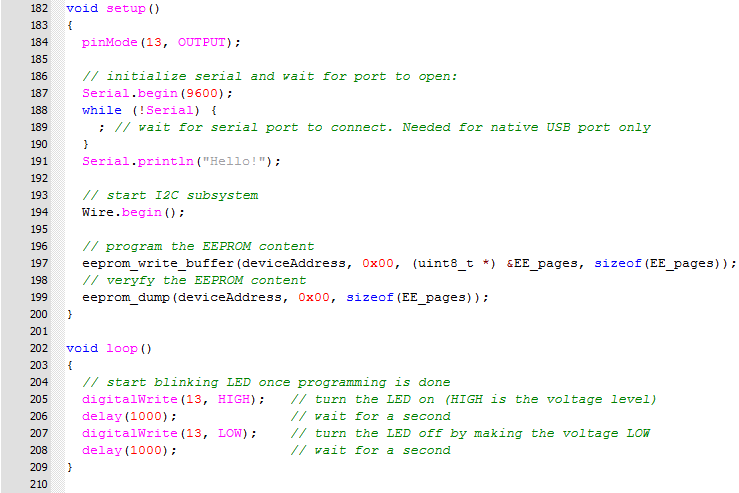
All the magic happens in the setup() function:
- Line 184 initializes the LED pin on the Arduino Uno R3
- Lines 186 .. 191 initializes the serial console connection, wait for it to be connected and prints a welcome message
- Line 194 starts the I2C subsystem
- In line 197 we call
eeprom_write_buffer()for the EE_pages to program the EEPROM - In line 199 we call
eeprom_dump()to dump the EEPROM content to the serial console for verification
Once the loop() function starts, everything is already over. The program now just blinks the LED to show that it is done.
Next: Simulation