Jolla and SailfishOS
TOH CAD
When I worked on QiTOH, I really had a hard time to get my ElectronicTOH CAD up and running.
I just wanted to add 1mm, for me to have enough space to fit a thin PCB in, but with all these curves in Jolla's THE_OTHER_HALF reference STEP file in The Other Half Developer Kit, it was pretty much impossible to find a good, flat surface to start to sketch on.
I spend a lot of time to first straiten out some of the curvatures, to finally be able to change the hight of TOH and I wasn't looking forward to do more advanced designs that way.
Yesterday so, when I worked on reverse engineering a keypad, I figured that:
- if we have a good CAD drawing of the part we want our part to fit on
- using boolean operations, one can make kind of a virtual mold from that master part
Since what the outer side of that "mold" looks like is under our complete control, the "mold" in itself will be a part that:
- on the inside fits exactly on the master part
- on the outside can provide complete flat faces to start designing on right away
So, let's try if this idea is any good!
Mold making
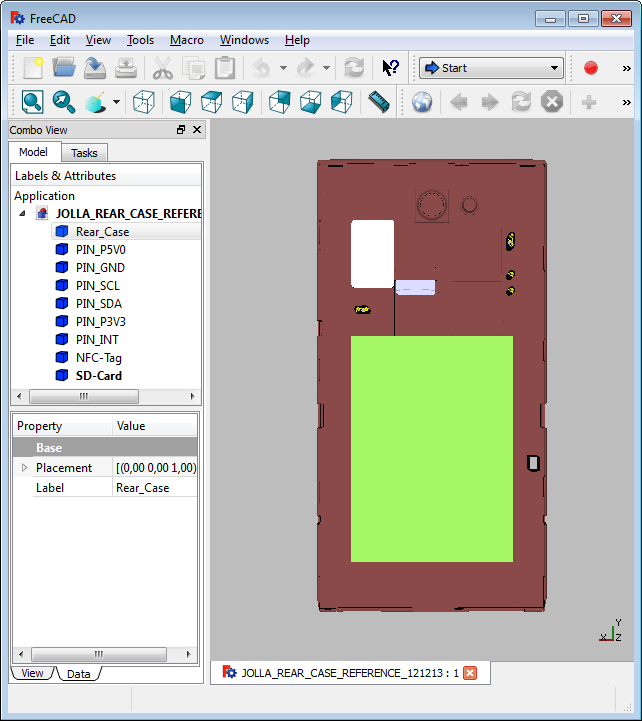
First we import JOLLA_REAR_CASE_REFERENCE_121213.stp from The Other Half Developer Kit into a new FreeCAD document ("Part | Import CAD..." in the Part workbench).
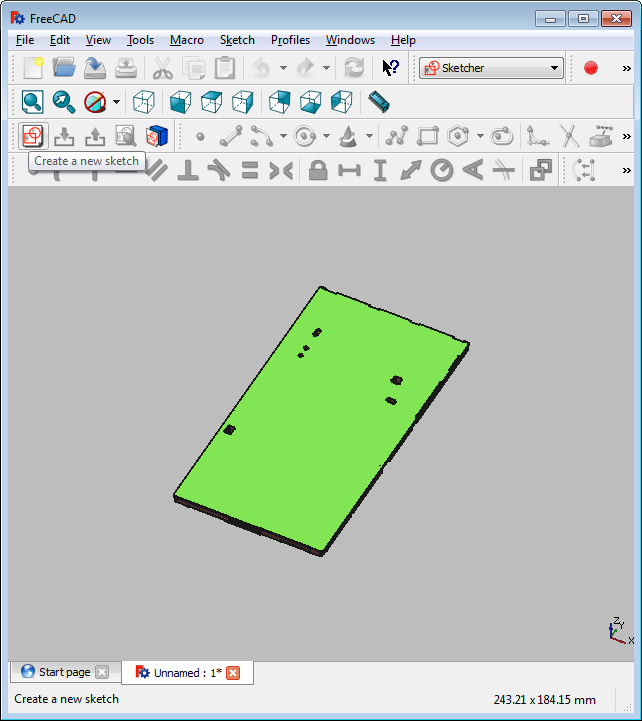
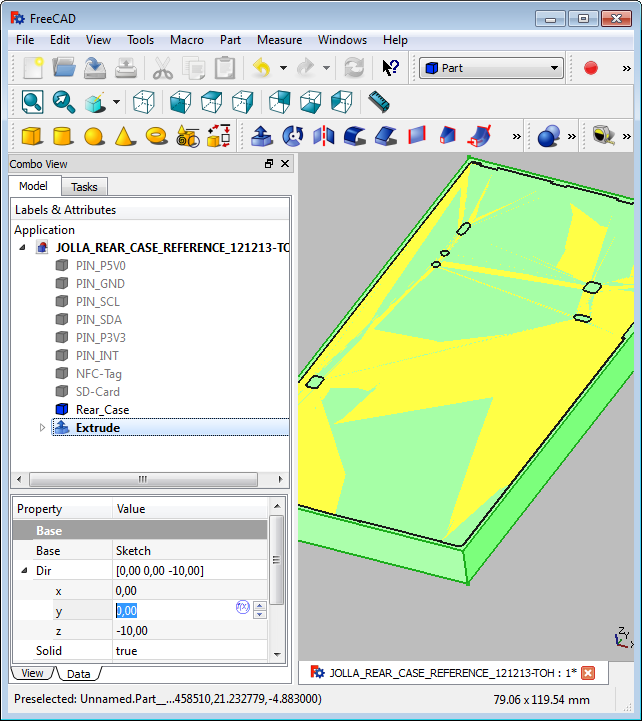
Now we draw the "moldbox".
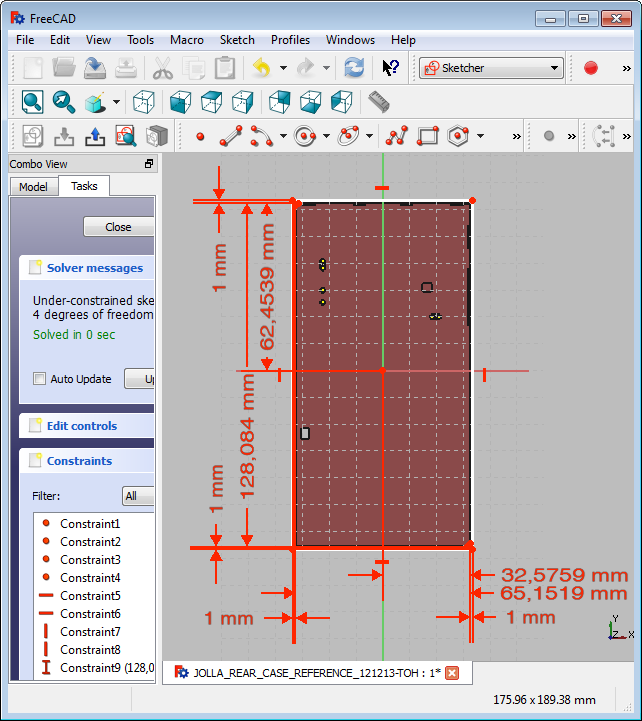
It is important to select the right surface before creating the new sketch.
To create the sketch, we:
- set reference points on each outline of Jolla's back
I zoomed in very, very close to do this as exact as possible. - constrain these reference points in there movement relative to each other and the center lines
- draw a rectangle
- constrain the distance of each side of the rectangle relative to an applicable reference point
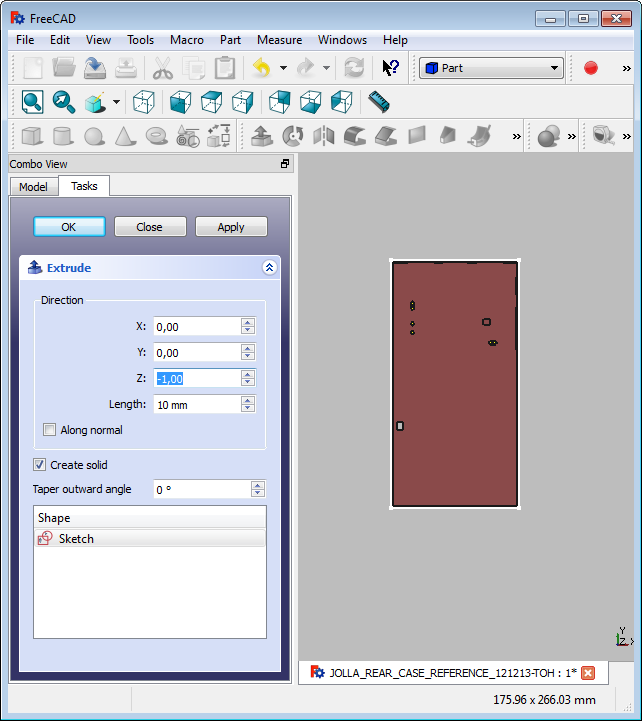
Now we have to extrude the sketch, to actually get a "mold":

- The way the part and the sketch are sitting in reference to each other, we need to extrude in the negative direction.
- 10mm are twice as much as we need to cover all of Jolla's rear case.
But this value does not really matter (as long as everything is covered), since we can add virtual "clay" to it or carve some out later. - Don't forget to tick
Create solidor you will just get a mold box, not a mold.
Done doing the "mold".
Now we have to remove the master.
- select the "mold"
- select the master
- cut the master from the mold
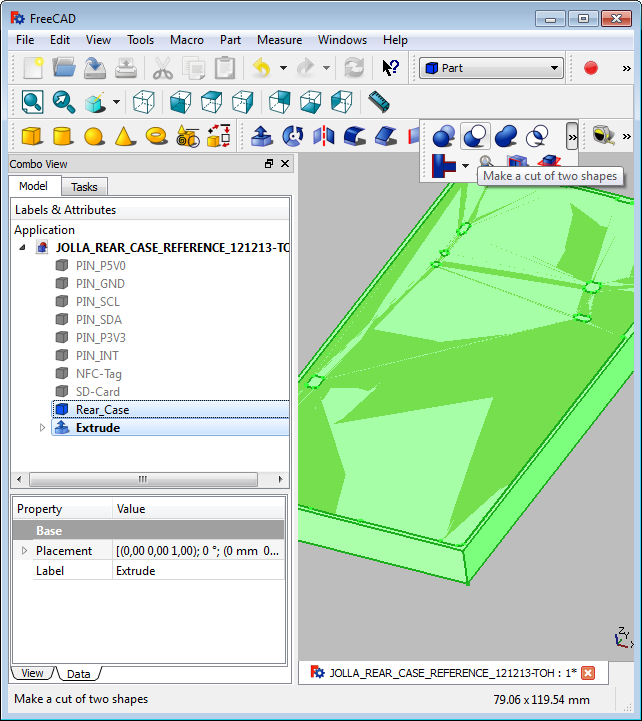
Looks like a good start for a TOH template.
Cleanup
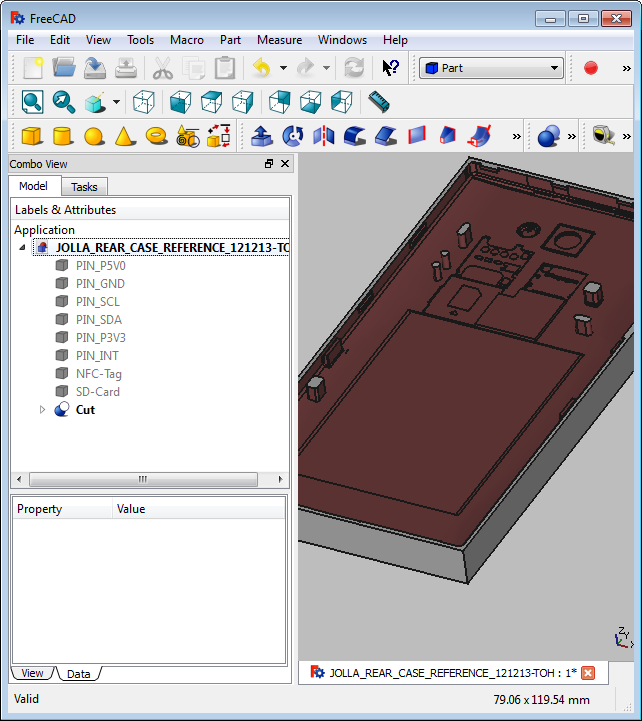
Before we start using this "mold" as a TOH template, there needs to be some cleanup.
If we export the "mold" into a STEP file ("Part | Export CAD...") and import it back into FreeCAD ("Part | Import CAD..." in the Part workspace), we see some left overs from Jolla's original Rear Case SETP.
We cut those out.

The result gets re-exported into STEP and now can be reimported into FreeCAD or any other CAD program to start designing our own TOH.
Be careful though - This is not a ready made TOH!
There is still some stuff "standing around", that needs to be removed, before any TOH printed from these files can fit on a Jolla, e.g.:
- Pogo Pins
- Camera
- Flashlight
- SD-Card
- SIM-Card
- Maybe more!
I will leave the template like this, because most of that will disappear once we start cutting room for PCBs, etc. anyway.
But make sure YOU check your design!
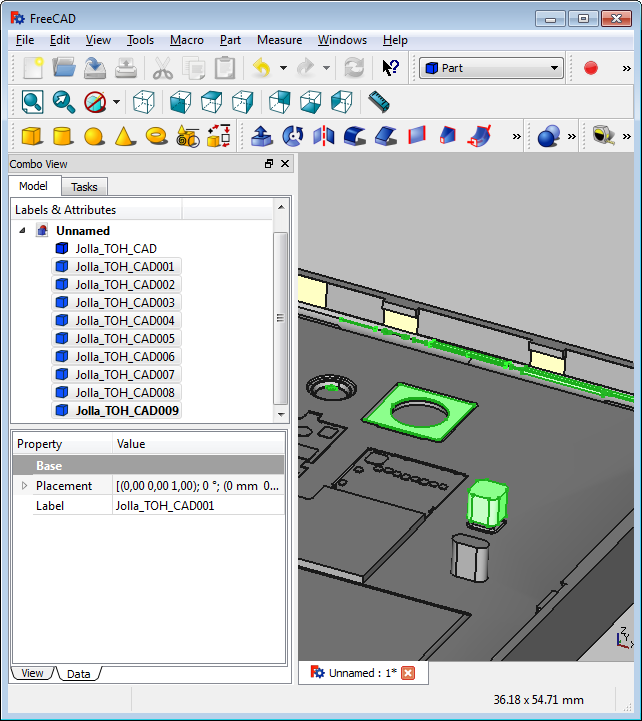
You can find the files now on GitHub.